MAKE IT YOURS
Case.
Casing for secure wired connection of Ajax devices
Standards and certifications
Case A (106) · CS.A.Y. Manufacturer-listed marks; regional and installation conditions apply.
Enclosure-dependent. Check the Ajax certification conditions before specifying.
The right space for a wired installation.
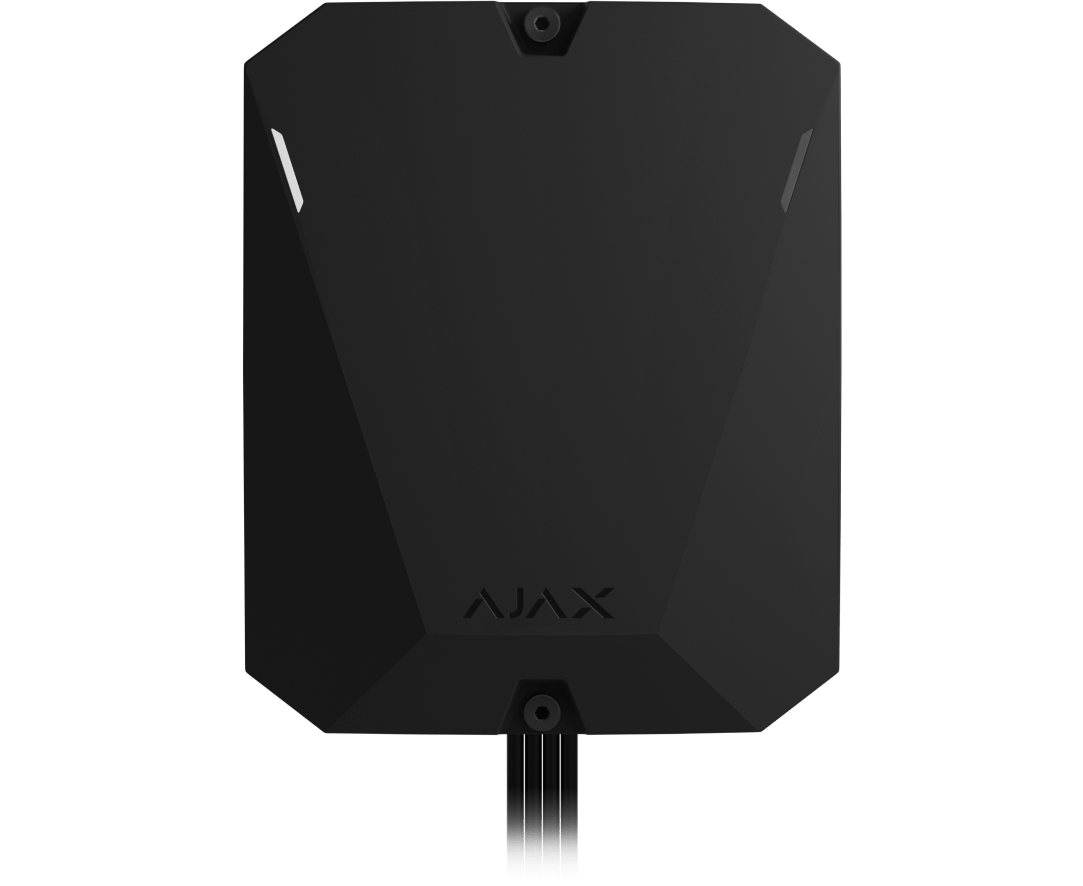
Case brings compatible Ajax boards, modules and their cabling into an organised indoor enclosure. Four sizes cover different arrangements, from one small module to a larger installation with backup batteries. Choose the casing around the exact equipment, its holders and cable routes. An included tamper board connects to the installed device so the system can supervise the enclosure.
Key features. At a glance.
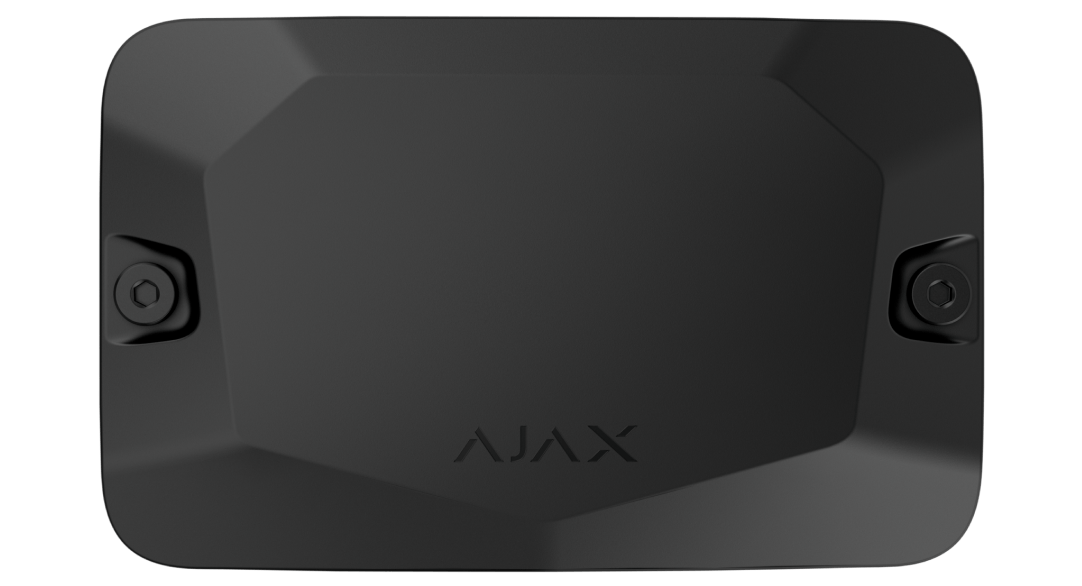
Case A (106)
Casing for an Ajax module
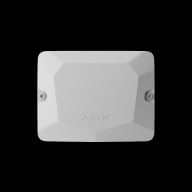
Case B (175)
Casing for one or two Ajax modules
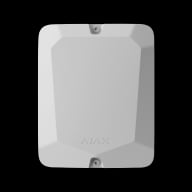
Case C (260)
Casing for an Ajax module and a 7 Ah battery
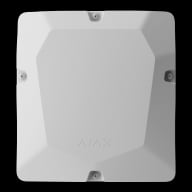
Case D (430)
Casing for up to eight Ajax modules and two 18 Ah batteries
Overview of this product range. Features and ratings can differ by version. Ajax product information ↗ · Case A (106) specifications ↗
Made for real installations.
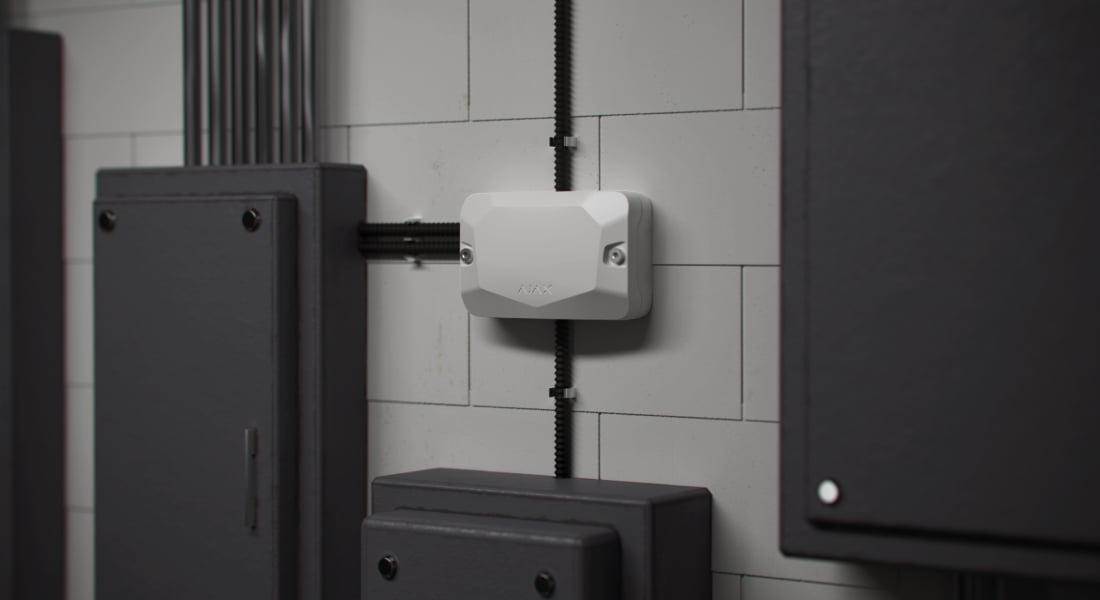
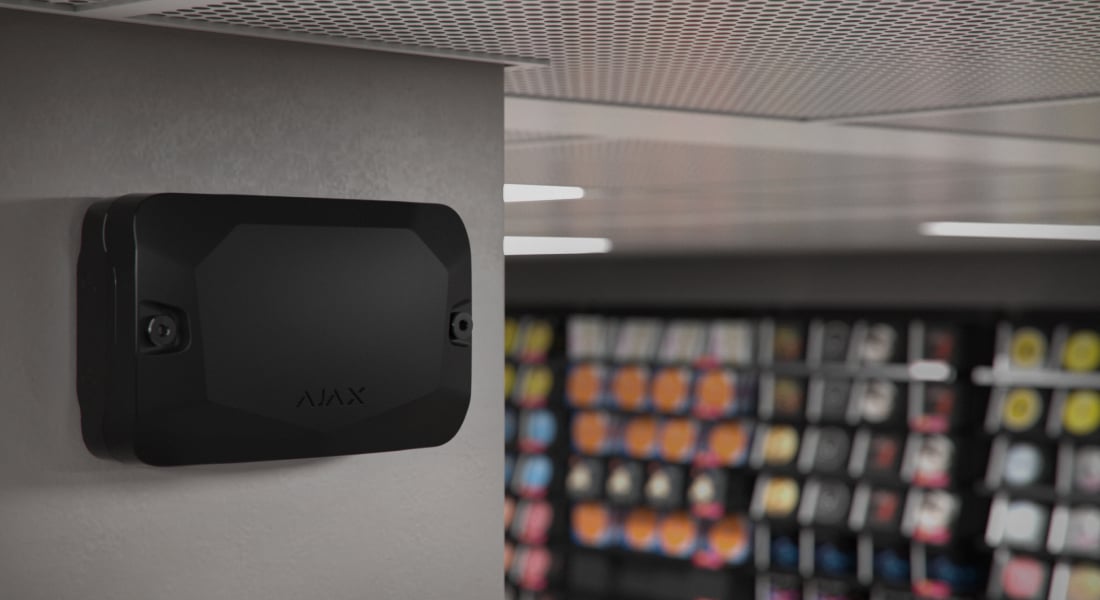
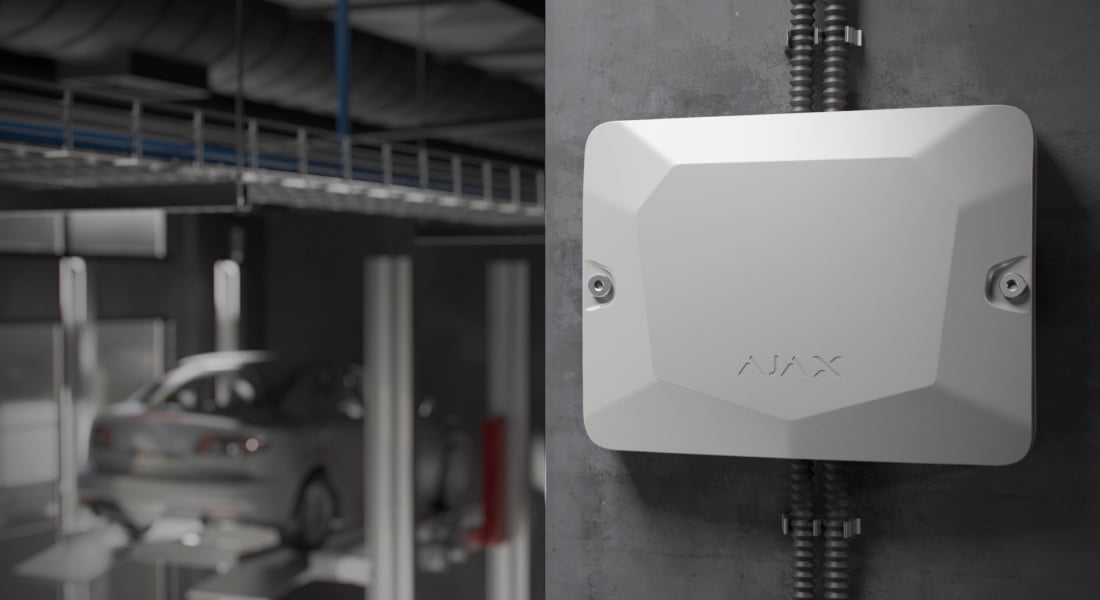
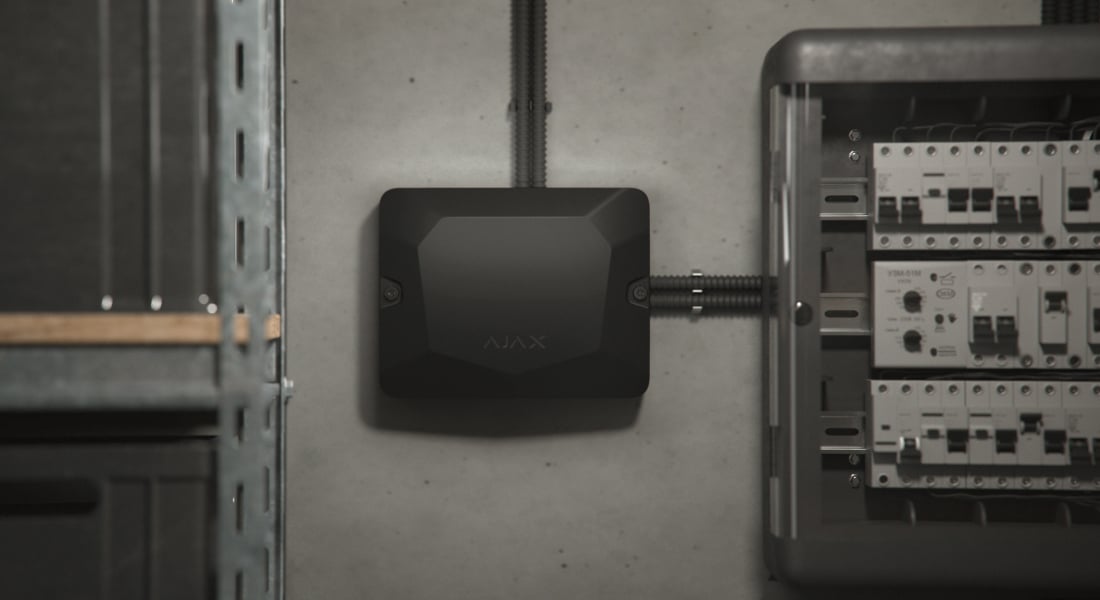
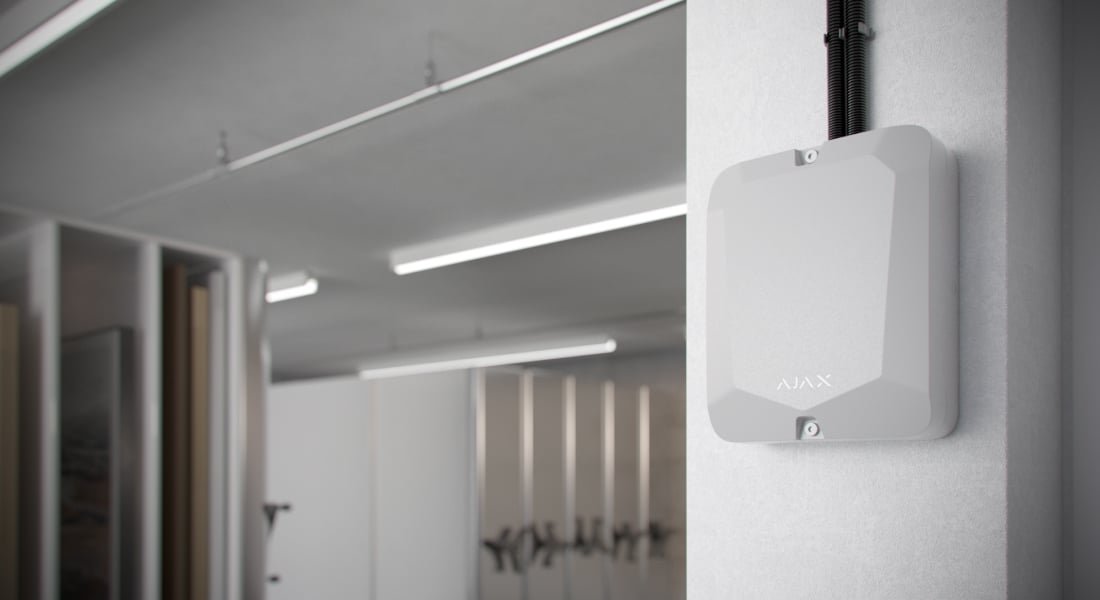
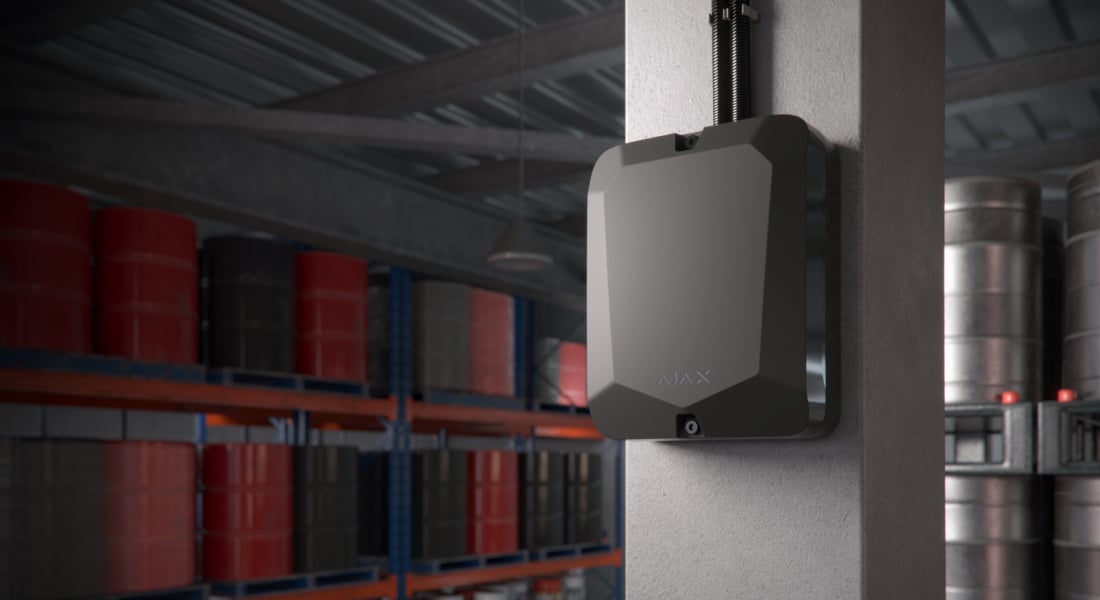
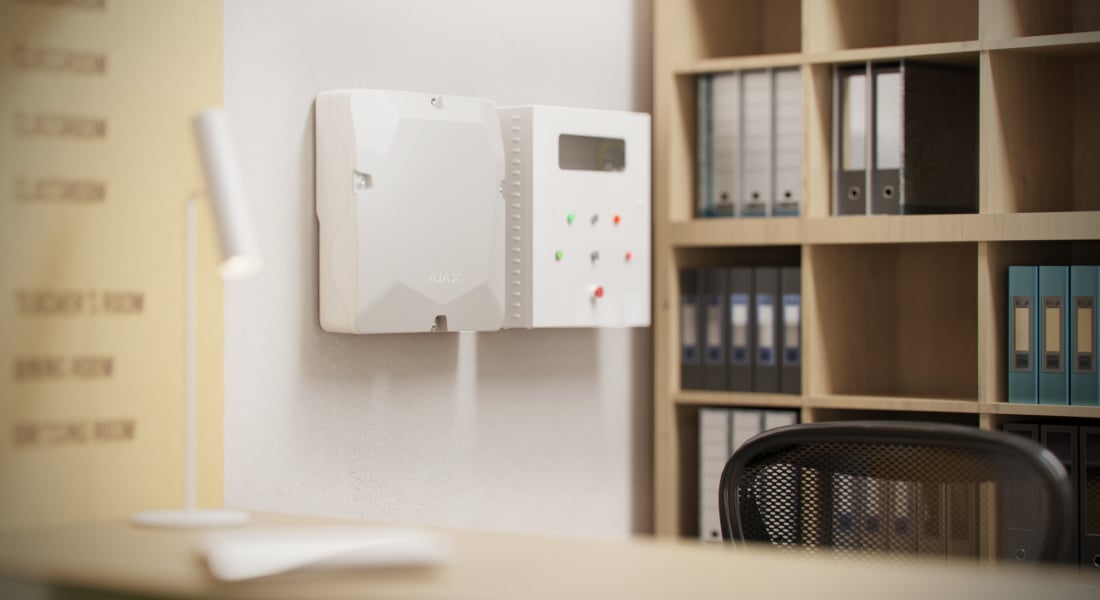
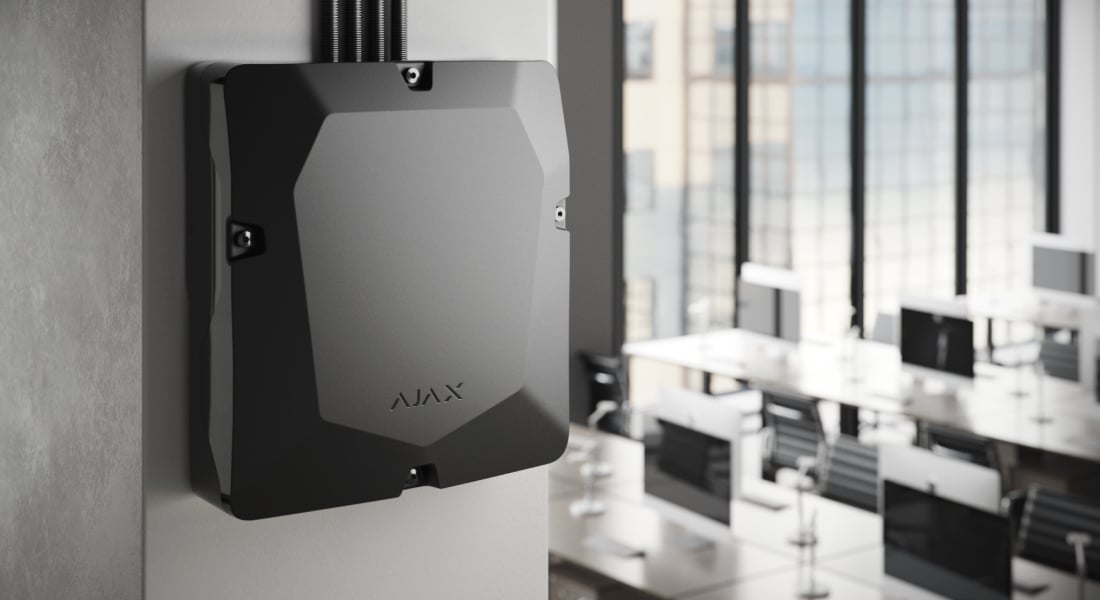
Choose the space around the equipment.
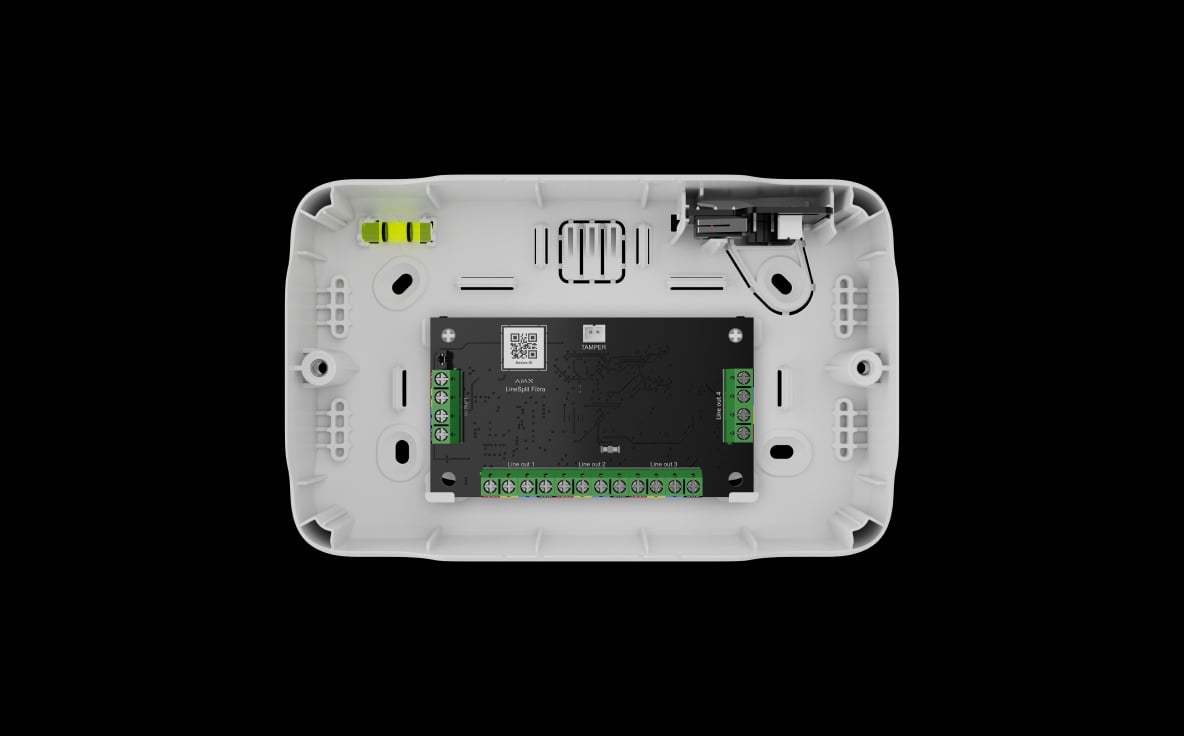
Case A (106)
For one compatible small module: Superior LineSplit, LineProtect, MultiRelay or MultiTransmitter IO (4X4) Fibra. The compact enclosure has a tamper board and cable fixing points.
106 × 168 × 56 mm. Equipment and wiring are selected separately for the installation.
Make room for the complete installation.
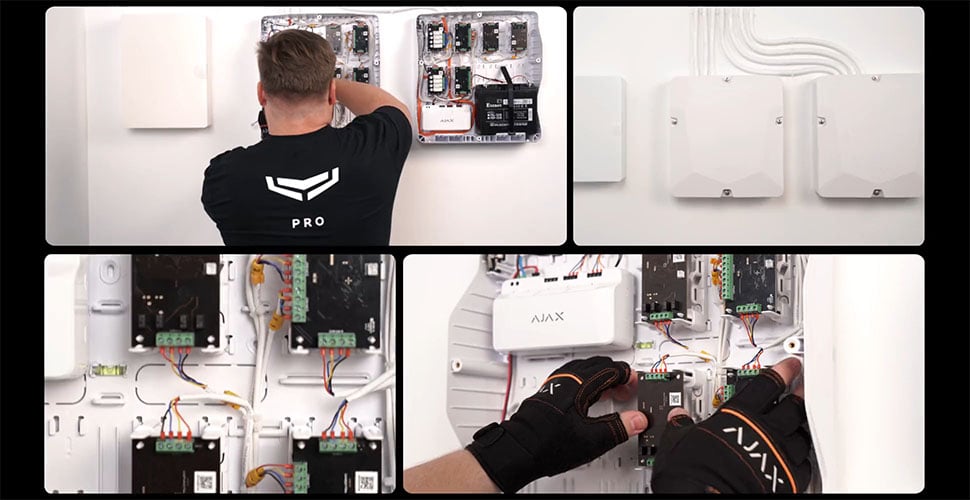
Configure Case D before choosing the parts
Place the supported devices, batteries and cable routes together in the layout. Four Module Holder (type A) holders are included with Case D; extra type A holders and the required type B holders are purchased separately.
Type B holders are required for supported board assemblies such as Hub Hybrid (4G) without casing and MultiTransmitter without casing. LineSupply uses the built-in rails.
Small details that help the installer.
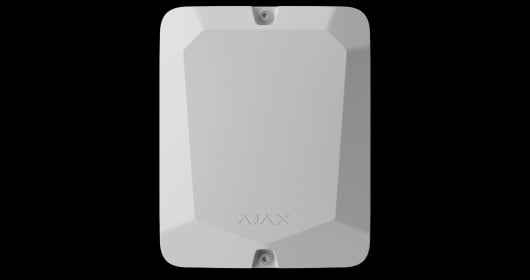
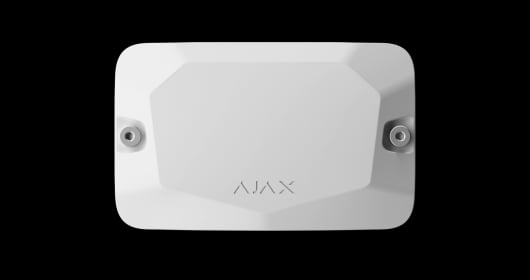
Captive lid screws
Holding screws stay with the lid during servicing, while the lid latches help keep the cover in place before it is secured.
Plan the cable entry and orientation
Case A and Case B allow the lid to rotate by 180°. Supported devices can be positioned as specified for the selected enclosure; LineSupply is fixed to its rails.
Do not extend the A/B lid-rotation feature to Case C or Case D.
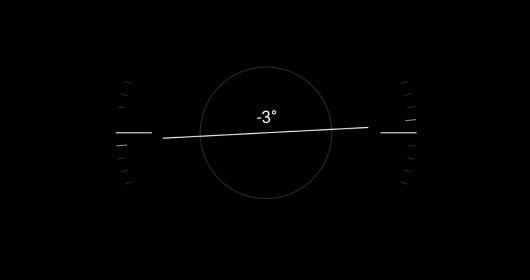
Align the casing and secure every fixing point
Use the built-in spirit level and all specified mounting points, including the tamper attachment. Secure cables to the provided fixings and keep the battery properly retained.
The enclosure is supervised through its device.
Connect the tamper board and test the result
The casing is not paired as a separate Ajax device. Its tamper board connects to a supported installed device, which reports enclosure events through the system. Fit the required mounting points, connect the tamper wiring and test the alerts before handover.
An unconnected tamper board cannot report an event. Check the exact device and casing instructions for the connection and mounting arrangement.
An enclosure for indoor locations.
Match the complete installation to the room
Case A, B, C and D are intended for indoor use at −10 to +40 °C and up to 75% humidity. Account for the heat and operating limits of the installed devices and batteries.
These models do not inherit Case E’s IP66 rating. Use the separate Case E concept when a supported outdoor installation is required.
Find the right enclosure.
Compare Case A, B, C, D and E for the exact equipment you want to install.
Compare security enclosures →Every detail, in one place.
Compatibility
- Compatibility
- Superior LineSplit Fibra; Superior LineProtect Fibra; Superior MultiRelay Fibra; Superior MultiTransmitter IO (4X4) Fibra
Device installation
- Number of devices
- 1 To install more devices, select a model with a different number of slots: Case B (175); Case C (260); Case D (430); Case E (395).
- Plastic latches
- to secure a device Slide the latches to remove the device.
- Cable fasteners
- to hold the cables together with ties
- Plastic stoppers
- to protect the installed device During drilling, the instrument rests on the Case stoppers.
- Bubble level
- To check the inclination angle of the casing during installation.
- Recesses for drilling
- Ø16 mm or Ø20 mm The drill bit is fixed in the recess and does not move during drilling. We recommend using a hole saw for plastic.
- Wider holes
- To ensure that the casing is installed correctly, even if there are errors during installation.
Key features
- Tamper board
- Included in the Case complete set. The tamper board connects to the appropriate device connector and protects the installed device from sabotage.
- Device rotation
- by 180° The devices can be rotated by 180°, giving two options for fixation.
- Holding screws
- in the casing lid
- Rotate the lid
- by 180° The lid of Case A (106) can be rotated by 180° during installation.
- Latches
- to secure the lid during installation The latches prevent the lid from falling off Case until it is secured with screws.
Product
- Dimensions
- 106 × 168 × 56 mm
- Weight of the black device
- 200 g
- Weight of the white device
- 207 g
- Operating temperature range
- from −10 °C to +40 °C
- Operating humidity
- up to 75%
What’s in the box
- Case A (106)
- Tamper board
- Installation kit
- Quick start guide
For your installation
- Selected as part of an installer-reviewed security or automation project.
- The device is designed for indoor use only. Case is produced in several versions.
- Choose the exact version: sensing, power, casing, pack size or interface details can differ between the listed models.
Product documents.
Complete your installation.
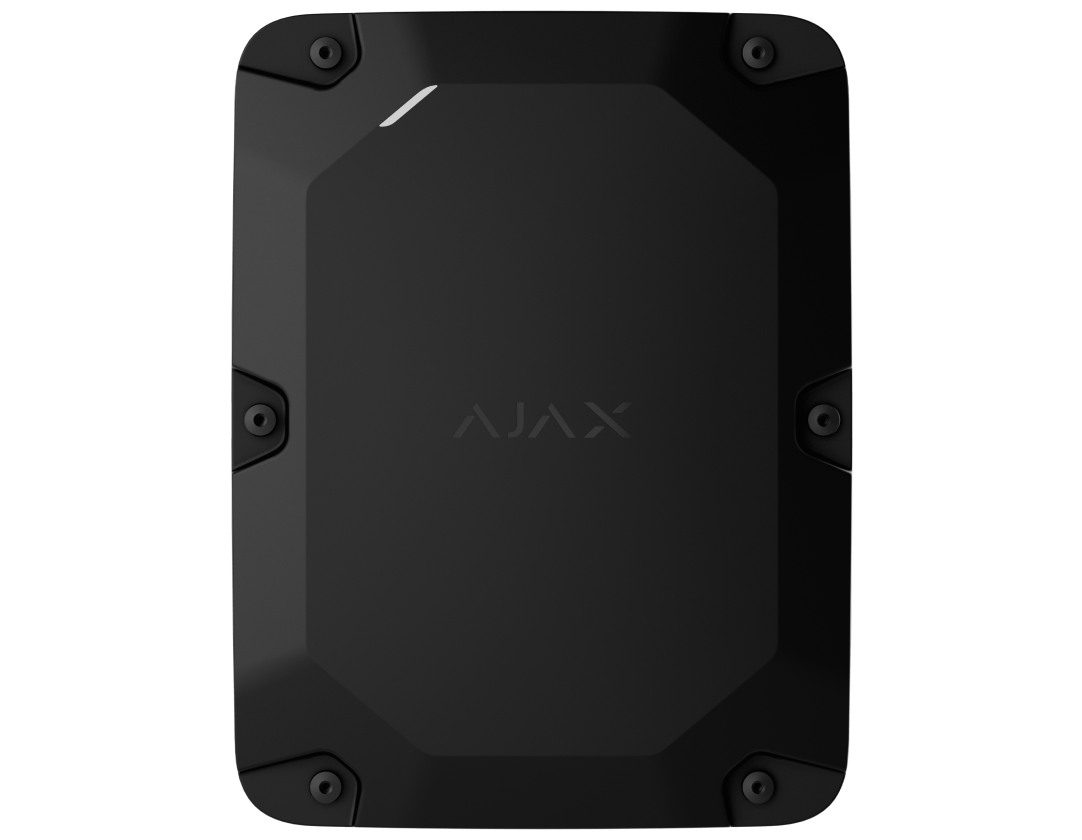
Case E (395)
Check the sealed enclosure and its exact equipment list.
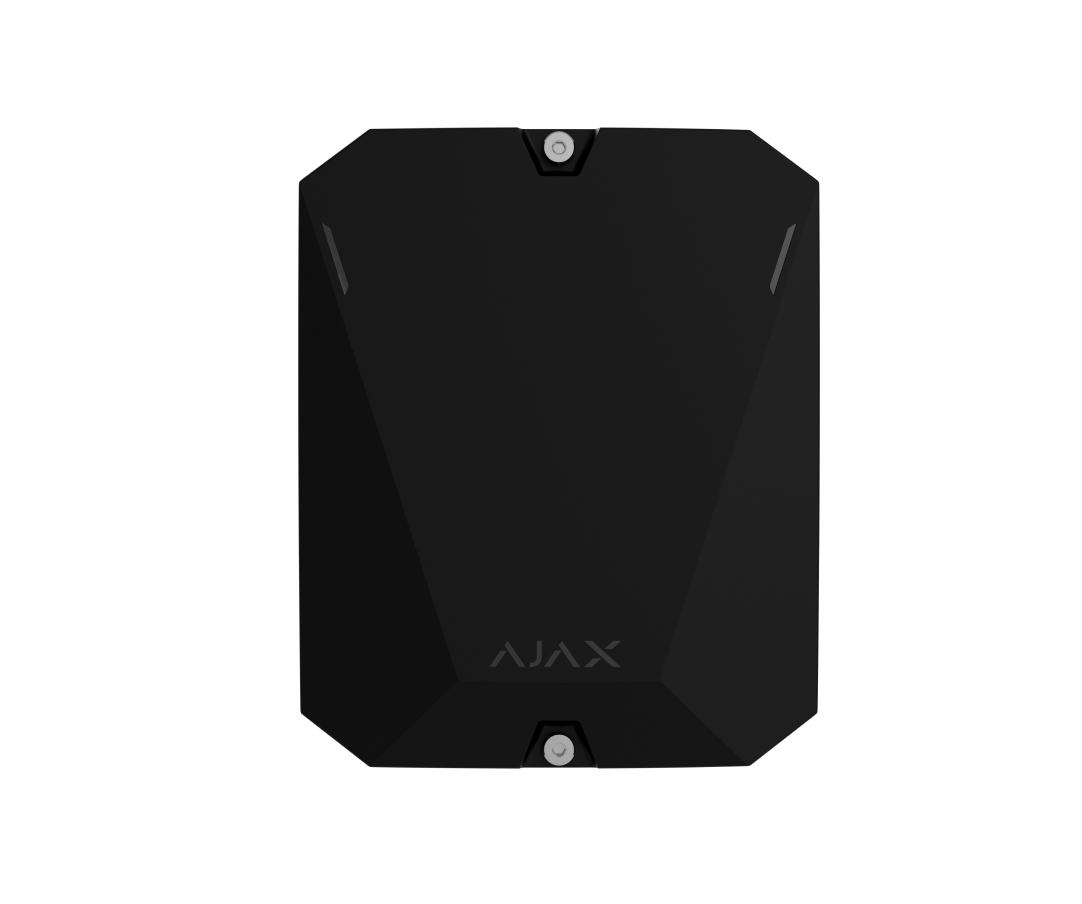
Hub BP Jeweller
Plan the board, battery and required holders in Case D.
Superior Hub Hybrid
Use the supported board version and correct mounting holders.