We use essential storage to remember your basket and provide the services you request. With your permission, Google Analytics helps us understand visits and Google Ads measures advertising results. Optional measurement is off until you choose. Cookies and privacy.
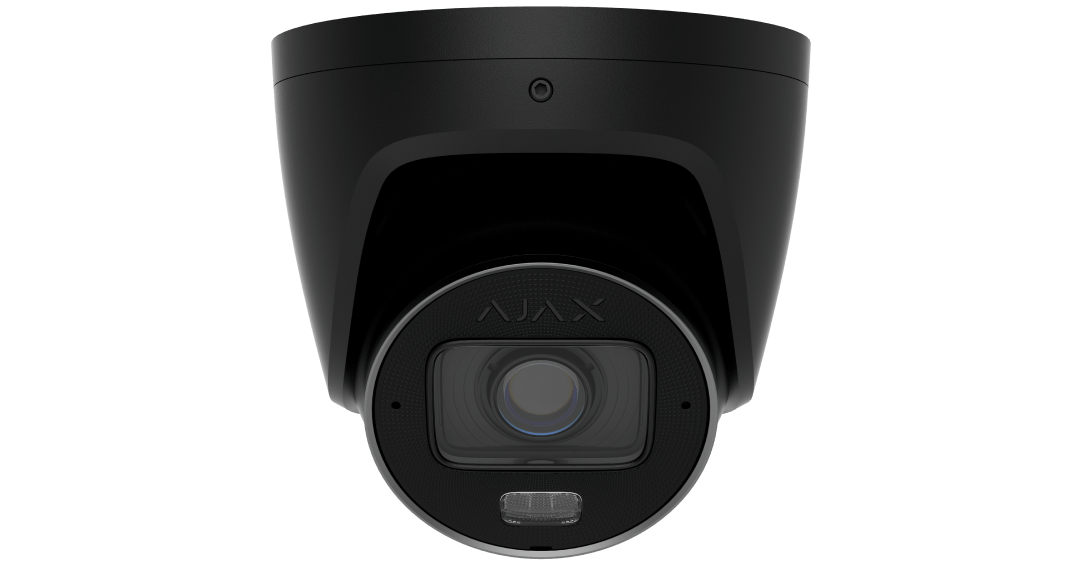
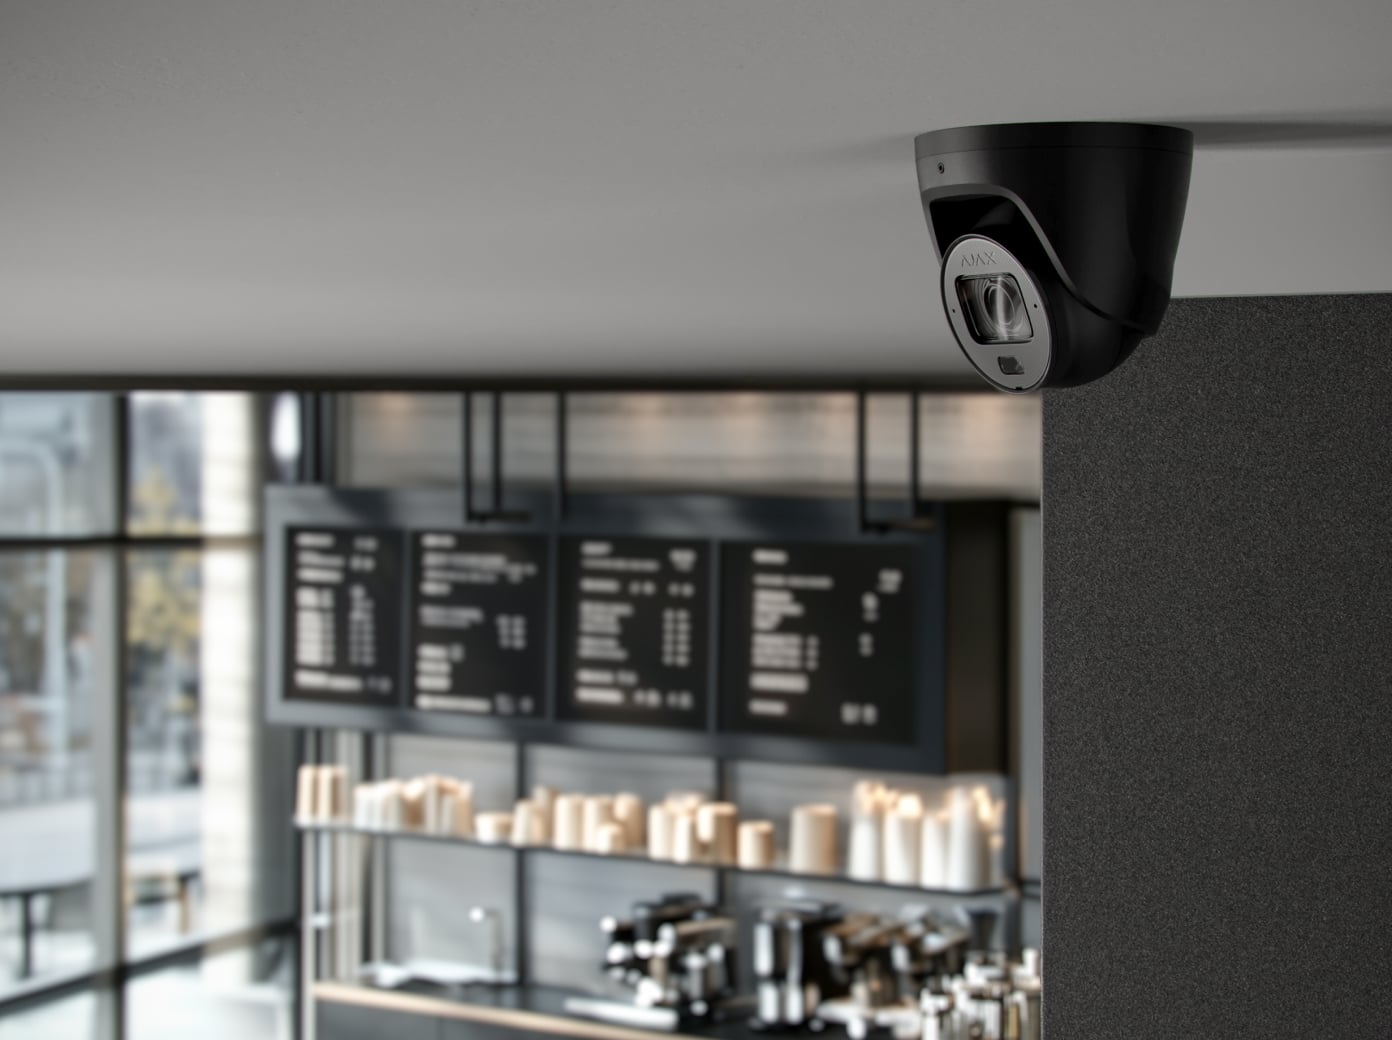
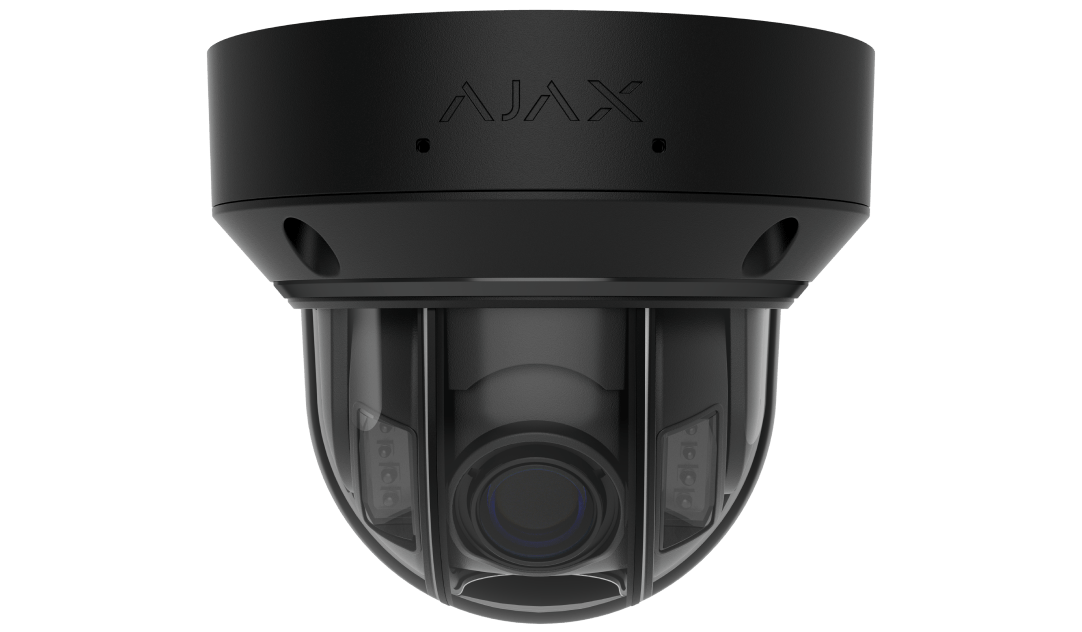
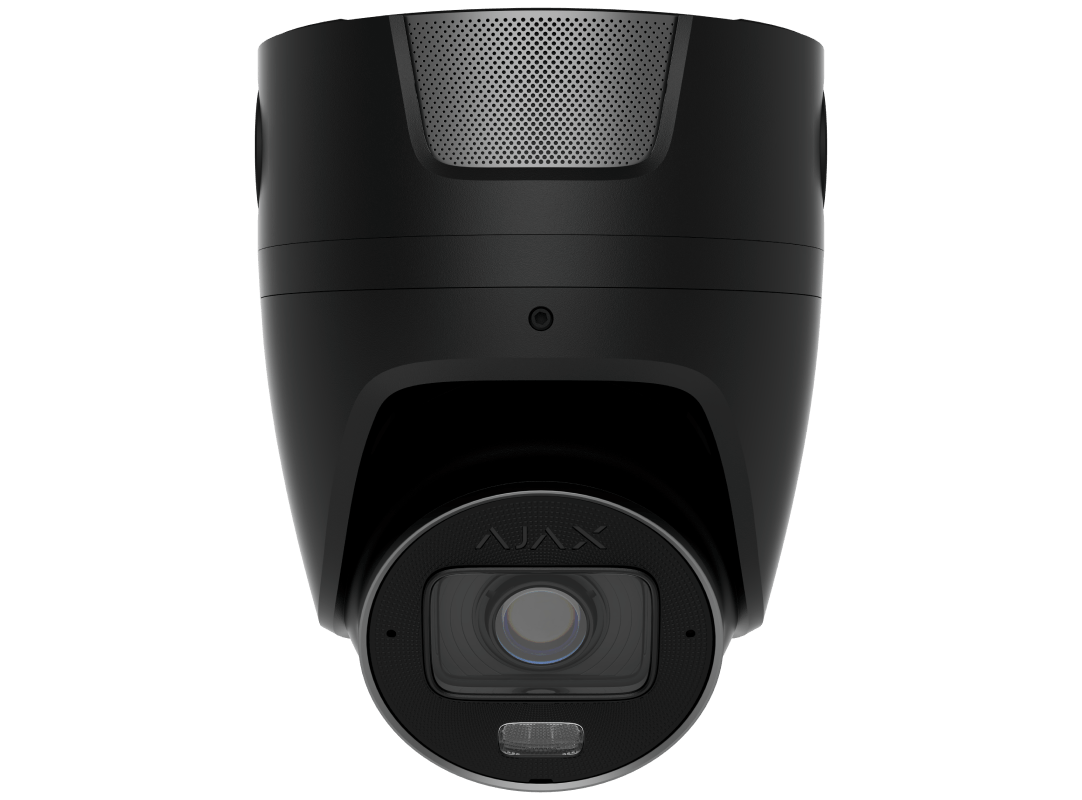
TurretCam HLVF combines a motorised varifocal lens, infrared and white light illumination, and built-in object recognition. Adjust zoom and focus in the Ajax app, record locally or through an NVR, and connect compatible equipment through its audio and alarm inputs and outputs. Choose 5 or 8 MP around the detail your space needs.
Key features. At a glance.
Optical zoom for maximum context with a single camera
Color footage even at night
Easy integration with existing intrusion protection and audio devices
Industry-leading privacy controls for end users
Hassle-free installation with everything included in the complete set
Intuitive monitoring and maintenance via mobile and desktop Ajax apps for end users and PROs
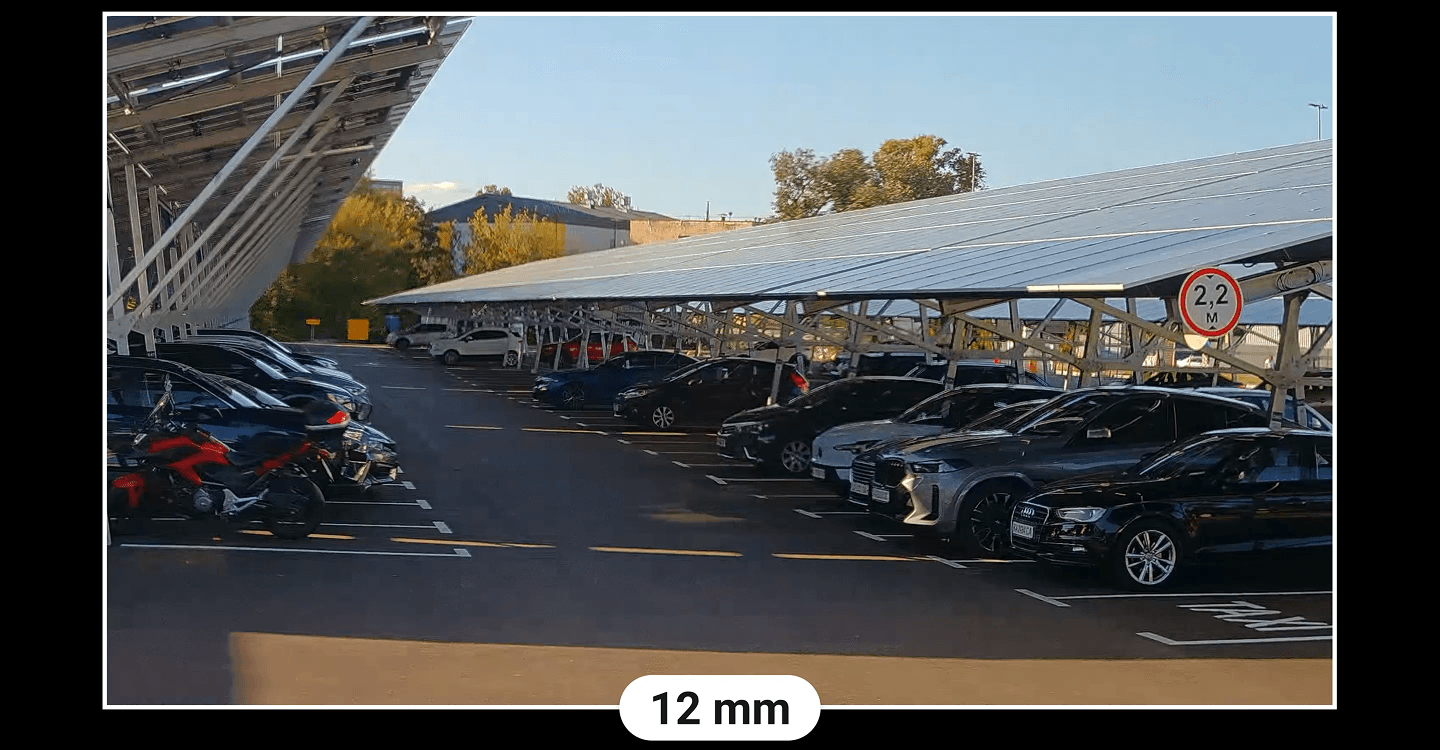
The motorised 2.8–12 mm varifocal lens lets you move from a wide overview to a closer view without reaching the camera. Use autofocus or adjust focus manually in Ajax apps. The horizontal field of view ranges from 31° to 111°.
Choose 5 MP for up to 2880 × 1620 pixels or 8 MP for up to 3840 × 2160 pixels. Both versions support up to 25 fps. Lens zoom changes the framing; camera direction is set during installation.
Bring colour into the night view
Hybrid illumination switches from infrared to white light when movement or a selected object is detected. Infrared reaches up to 60 m; white light reaches up to 40 m. The camera adjusts light intensity to limit overexposure at different distances.
The white light is visible. Configure its triggers for the property and check the view after dark. Illumination range is not a guaranteed identification distance.
Balance bright and shaded areas
True WDR combines different exposures to retain detail across bright entrances and darker surroundings. Both versions specify a 120 dB dynamic range. Check the actual view after choosing the final position and zoom.
Notice the events that matter.
People, pets and vehicles
Onboard AI distinguishes these object types so you can choose what triggers a recording or notification. Adjust detection for the scene and check the results in the Ajax app.
Object recognition does not identify a person, read a number plate or guarantee detection in every condition.
Know when a boundary is crossed
Draw a virtual line in the camera view, choose its crossing direction and select the object types that should trigger it. Test the rule against the actual route through an entrance, driveway or restricted area.
Keep routine movement in context
Configure motion detection zones and sensitivity for the finished camera view. Combine the areas with the recording schedule and notification settings, then review them again after changing the zoom or camera direction.
Find the moment that matters.
Recording requires an installed memory card or an NVR with a drive. Storage media are purchased separately.
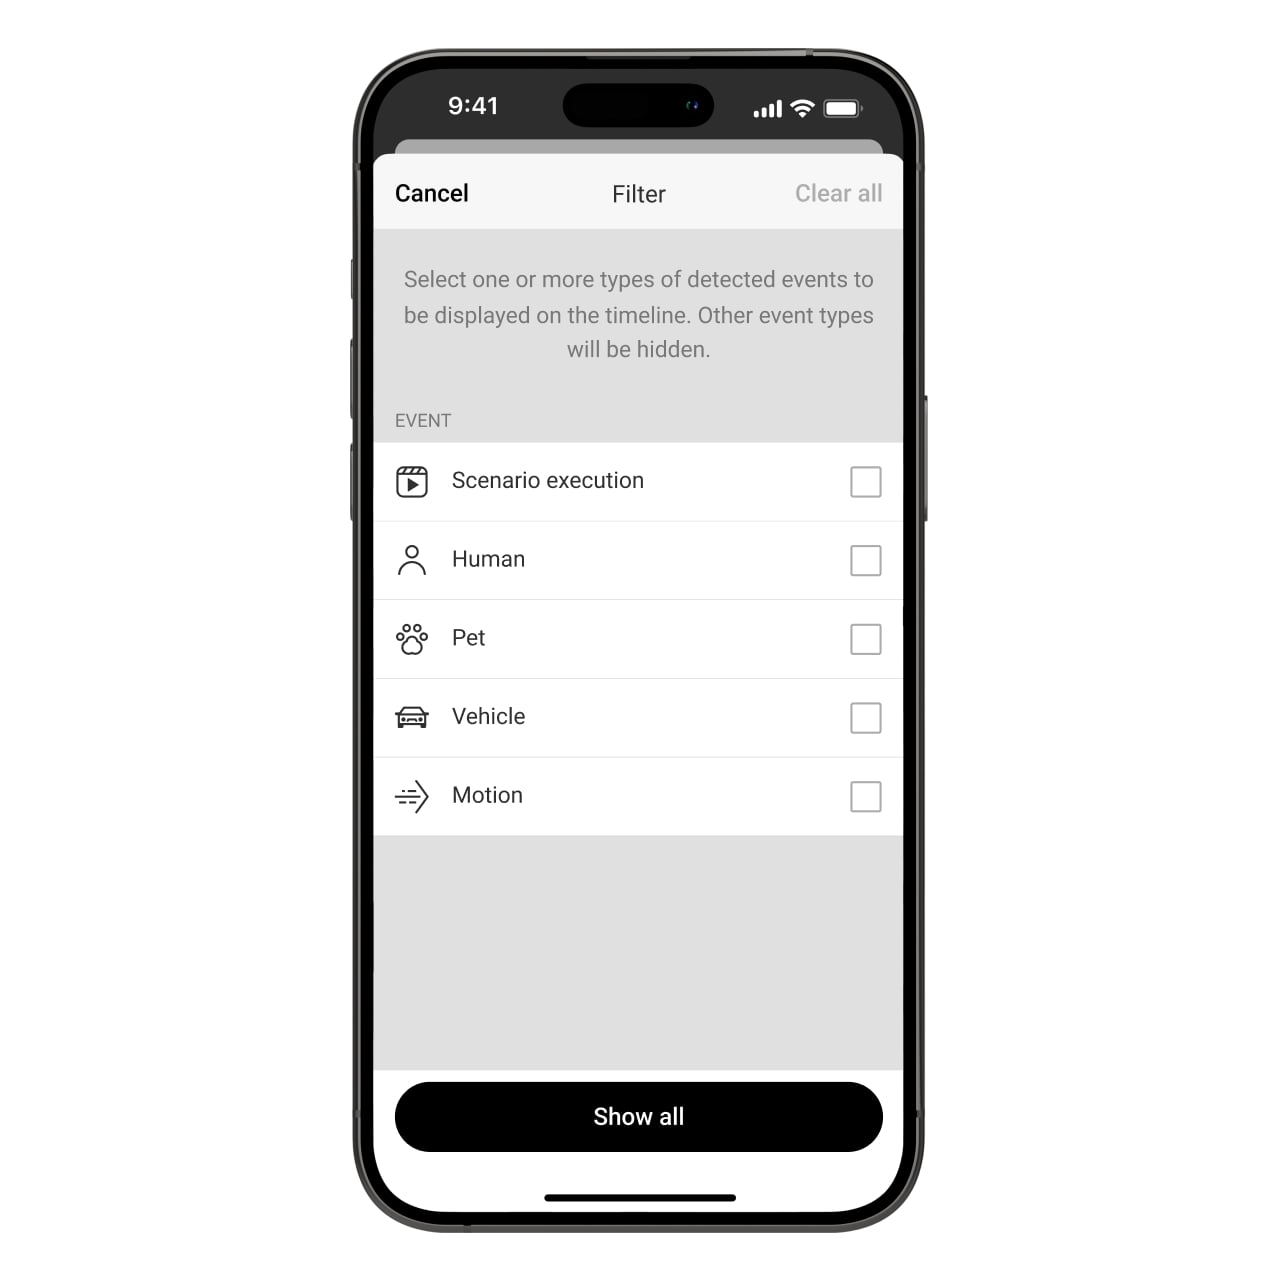
Search by what happened
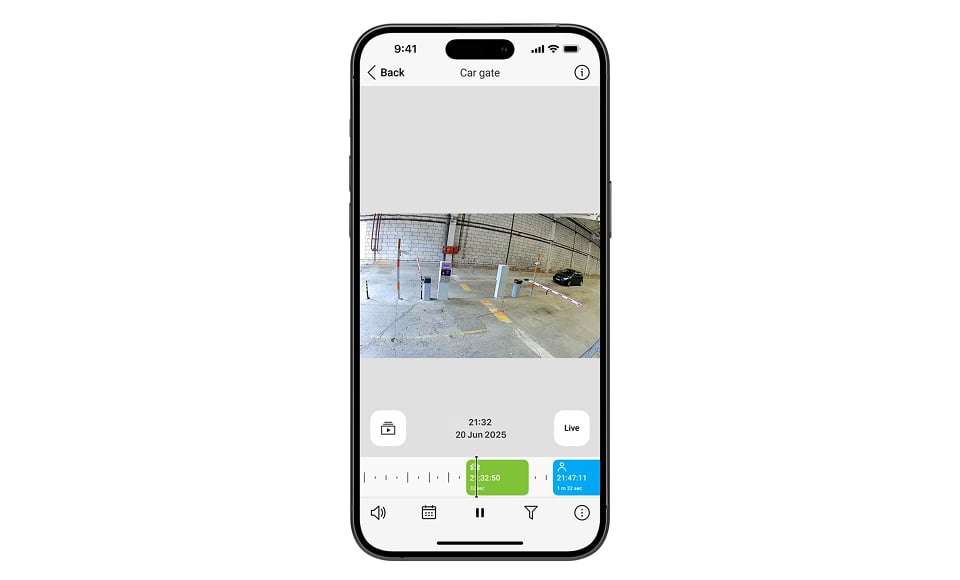
Filter the archive by movement, recognised objects or a recording scenario. Open a relevant event instead of searching an entire day of footage.
Go straight to a date
Use the calendar and timeline to move through available recordings. The recording schedule, image settings and storage capacity determine how far back the archive goes.
Keep a useful clip
Select and export the part of a recording you need. These cameras add an Ajax digital signature to downloaded clips. Open the original exported file in Ajax Media Player to check its authenticity and whether it has been altered.
Give detection a coordinated response.
These cameras work as standalone video devices. Responses involving Ajax intrusion detectors, sirens or automation also need the corresponding devices and a compatible hub.
Link an alarm to its video
Configure a video scenario that connects an Ajax detector to the camera watching the same area. Review the resulting footage in Ajax apps, with recording storage ready before relying on alarm clips.
Choose what happens next
Movement or a selected object can trigger configured Ajax sirens or automation devices. Add the corresponding devices and a compatible hub, then test the scenario and its timing.
Match the security mode
Set when the camera records and sends notifications. Coordinate armed, disarmed and entry/exit behaviour with the rest of the system, so each response fits how the property is used.
Decide what is visible. And to whom.
You control access
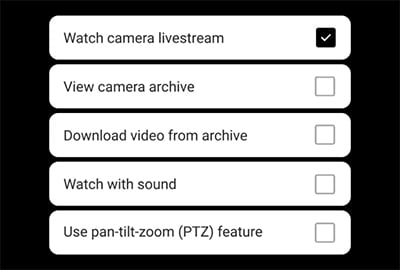
Choose who can watch live video, view recordings, hear audio or change camera settings. Manage access for users, installers and monitoring professionals from the Ajax system, and review it when their role changes.

Mask private areas
Set up to four privacy zones in the camera image. The selected areas are covered with black rectangles. Review these masks after changing the lens framing so they still cover the intended area.
Access stays under your control.
A camera without a default password
The Ajax connection uses mutual TLS certificates and binds the camera to one space. Add it through the Ajax app instead of relying on a shared factory password. Protect the account separately with two-factor authentication and session control.
Keep the camera up to date
Secure Boot checks the firmware at startup, and signature verification protects over-the-air updates. Keep the camera firmware and Ajax apps current to receive supported improvements.
Connect the equipment around it.
Wired alarm input and output
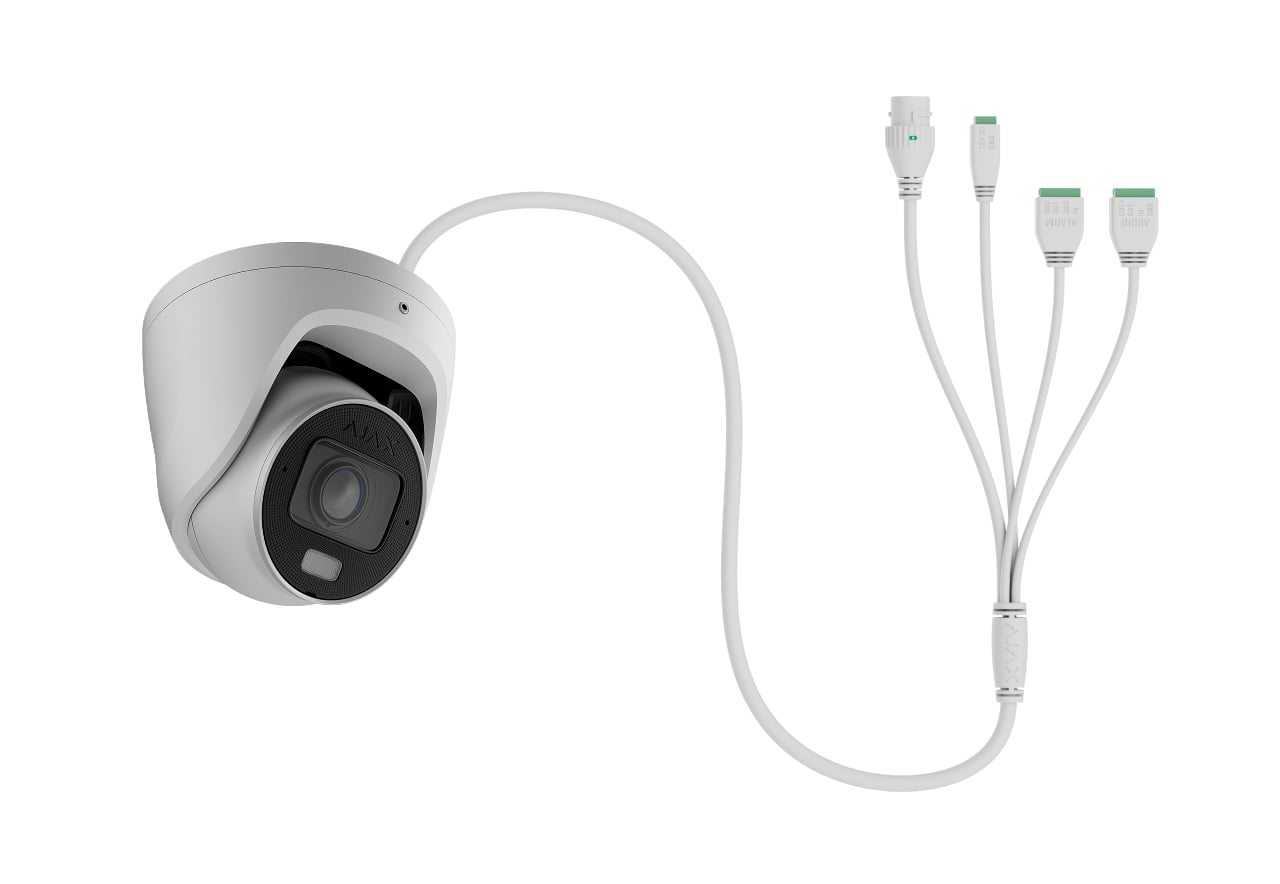
Connect an external detector or button to the configurable NO/NC input. A configured event can start recording or operate equipment through the alarm output.
Alarm OUT is rated for 24 V DC, 300 mA. Use a suitable external relay or interface where the load requires it, and test the output with Send test impulse in the Ajax app.
Audio in and out
The camera includes a microphone. For two-way conversation, connect an external speaker through Audio OUT. Audio IN accepts an active microphone with a built-in preamplifier when the installation needs a different pickup position.
External audio equipment is separate. Follow the exact manual when selecting the speaker and amplifier; the listed speaker requirement is at least 3 W and an impedance of at least 4 Ω. Set recording and listening permissions in the app.
Fit video into your existing setup.
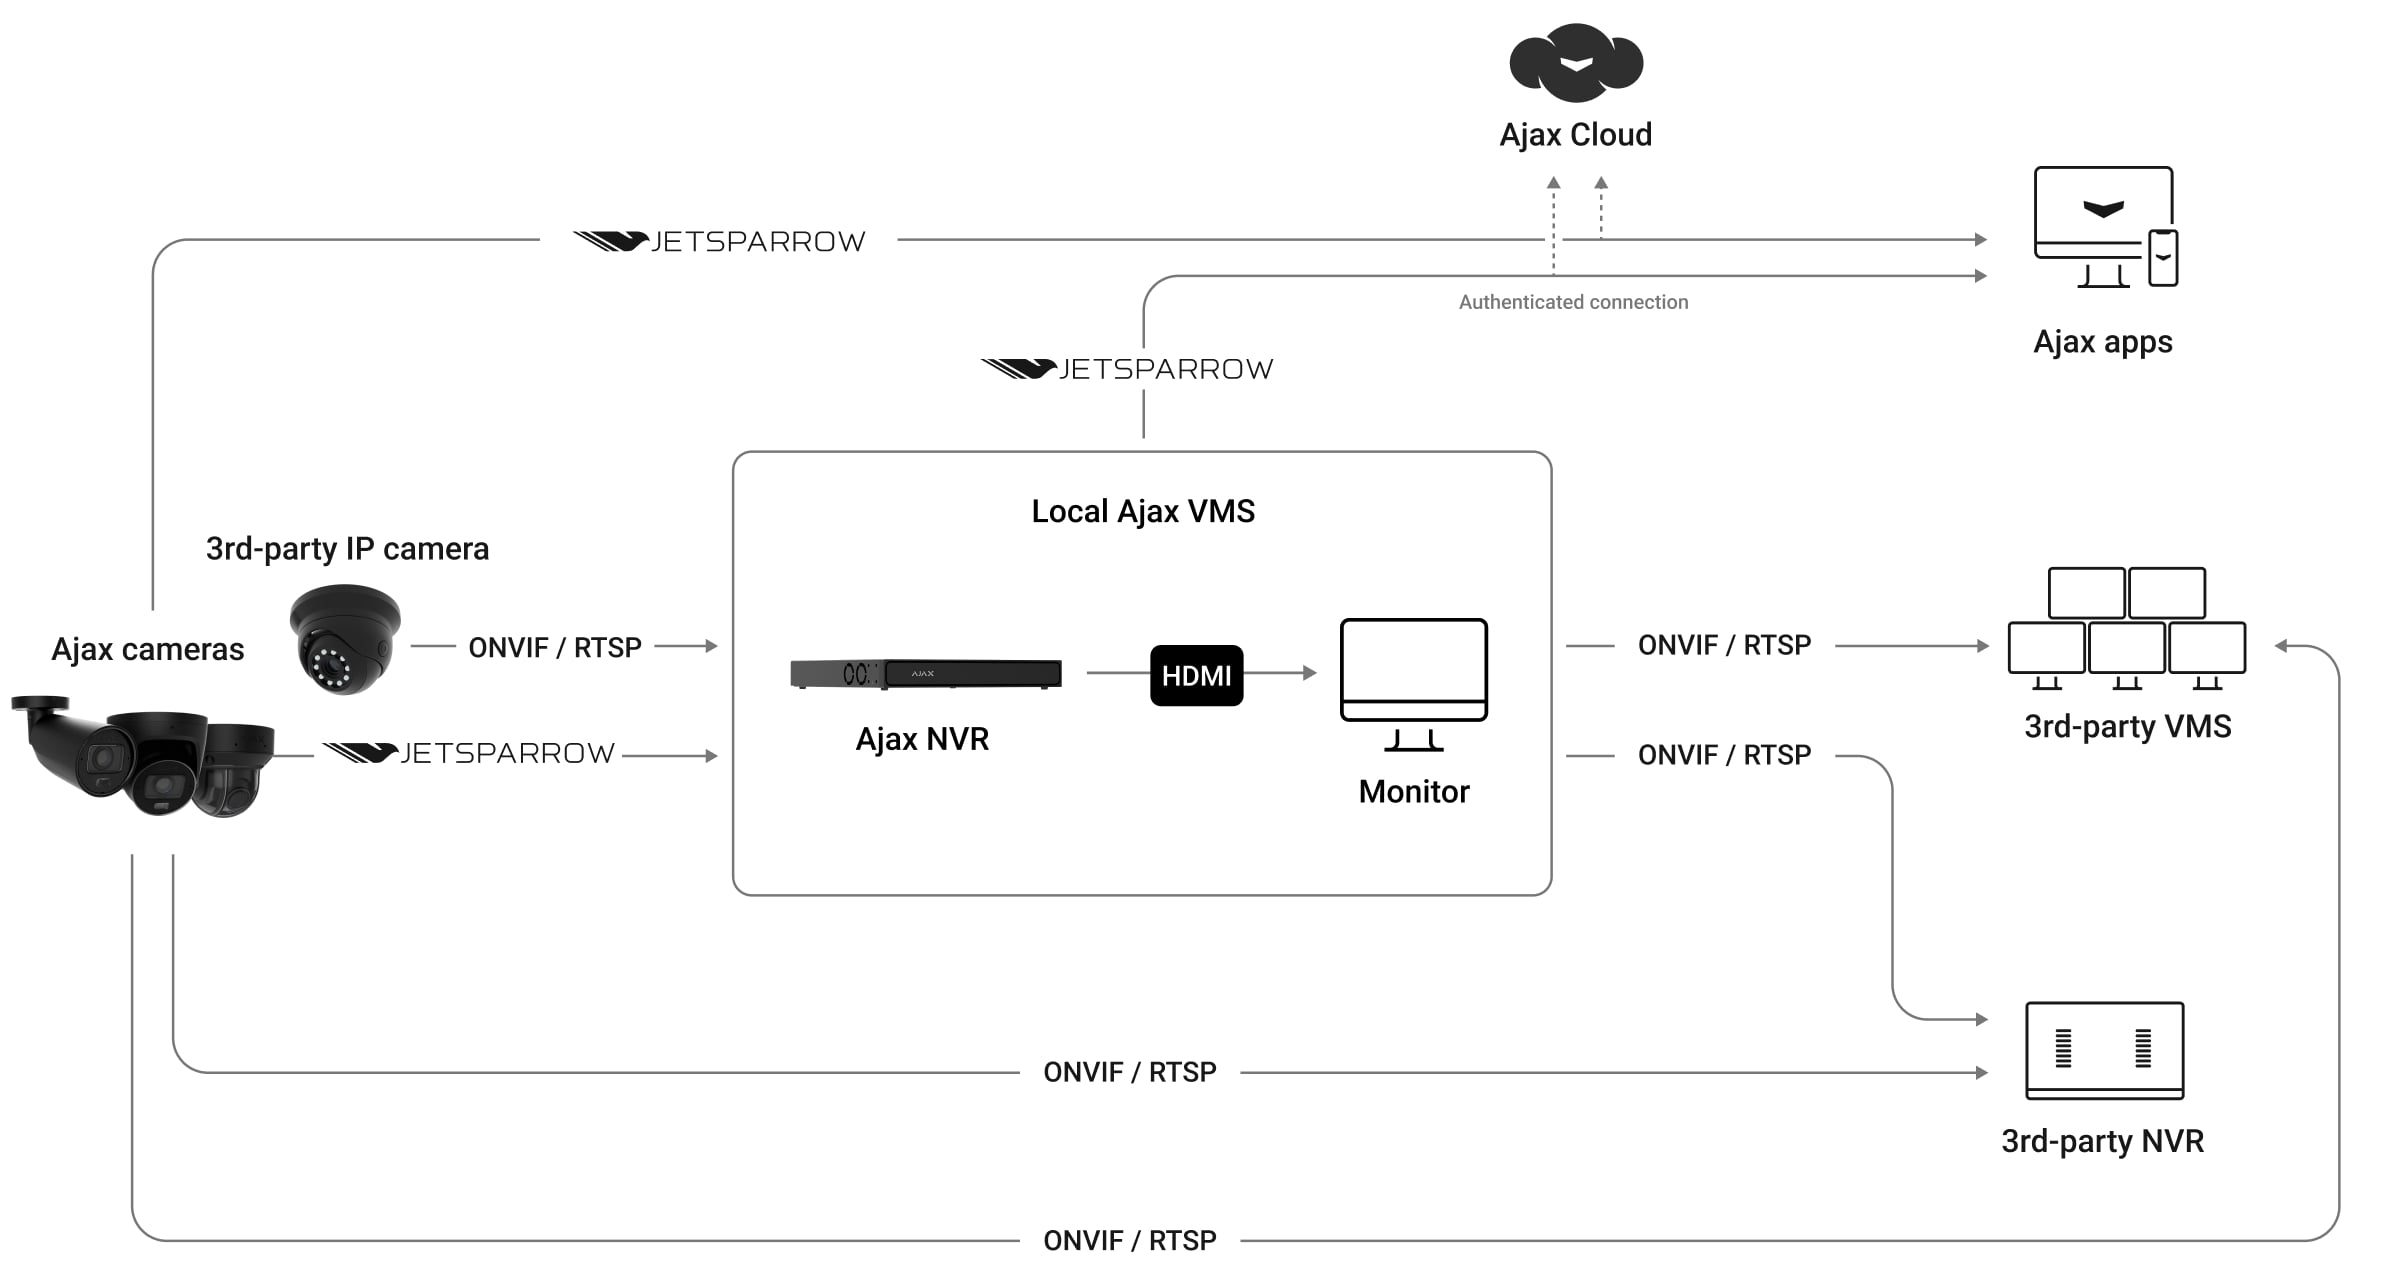
ONVIF and RTSP
Connect to a compatible third-party recorder or video management system. These cameras conform to ONVIF Profiles G and S and support RTSP. Check which functions the receiving system supports before planning an integration.
H.265, AI events, motion events and WDR controls are additional implemented functions; Ajax does not describe them as ONVIF profile or add-on conformant.
Choose the recording. Plan the power.
Local recording or a central archive
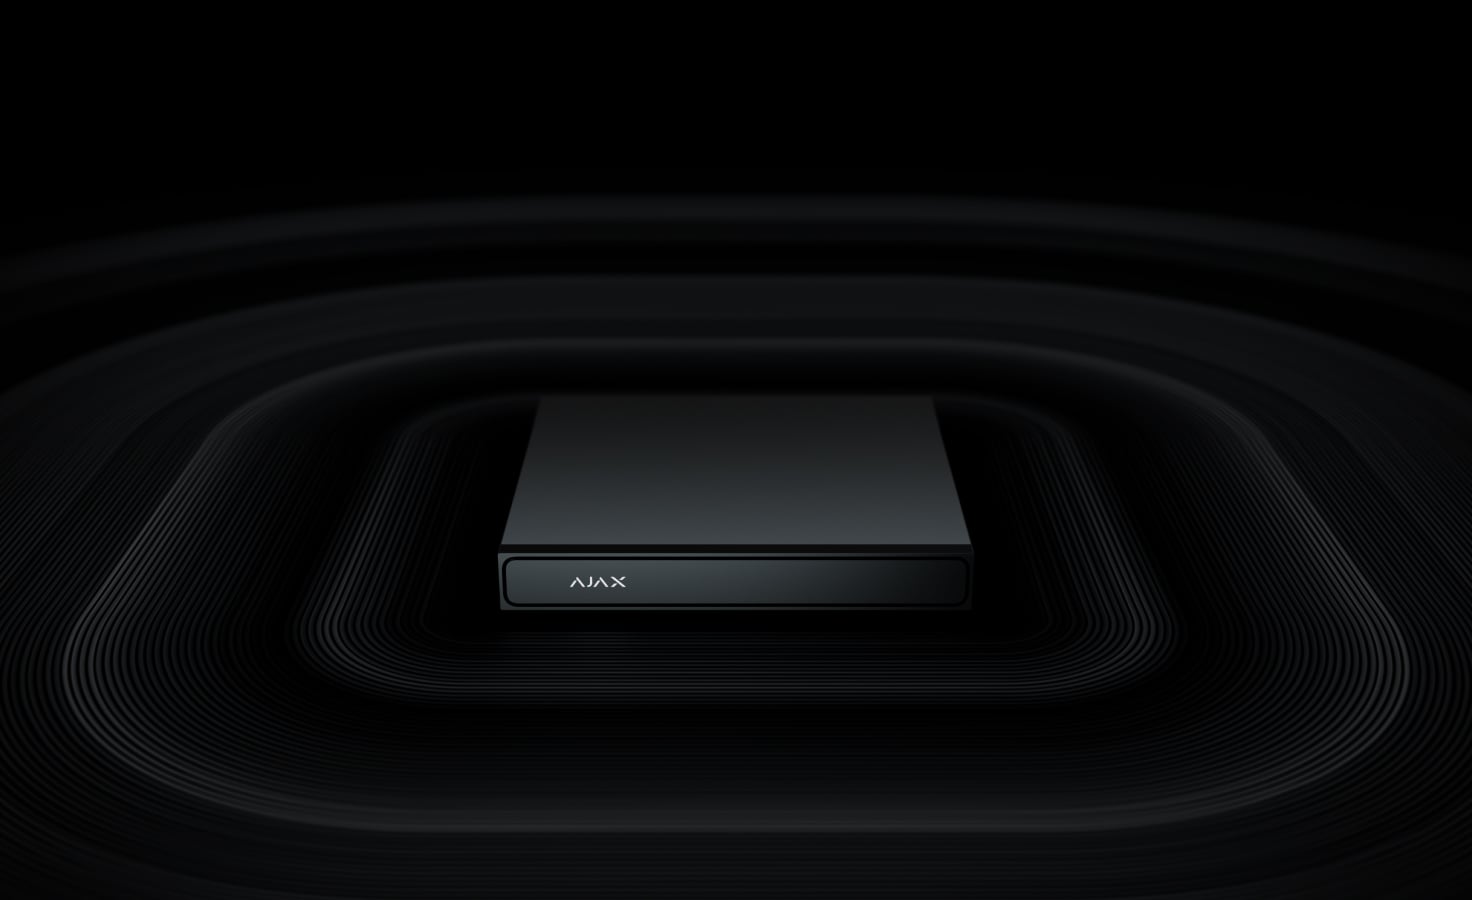
Install a 32–256 GB microSD card rated V30 or faster for recording in the camera, or connect it to an Ajax NVR with a drive. The camera can operate without an NVR. Storage media are purchased separately; capacity, image settings and recording schedule determine the archive length.
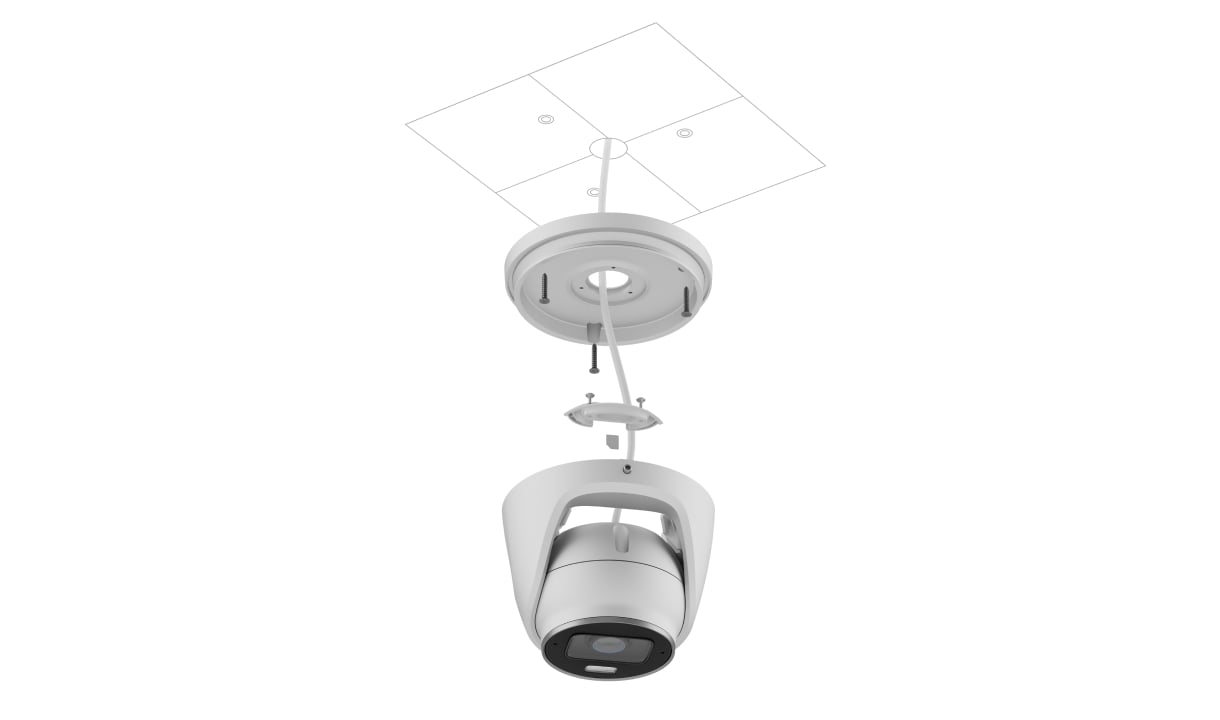
Ethernet with PoE or 12 V
Connect the camera over Ethernet. It supports 802.3af/at Class 3 PoE or a 12 V DC, 1 A supply alongside the network cable. It does not connect over Wi-Fi, Jeweller or Wings.
The maximum stated consumption is 12 W and the average is 6 W for either resolution. Allow for all connected devices when sizing the PoE supply.
Install it for the place it protects.
Mount and aim
Secure the mounting base, position the camera head and tighten its fixings. Keep the microphone unobstructed and route the connections without strain. Set the direction during installation, then refine zoom and focus from the app.
The enclosure is rated IP67 and IK10, with operation from −40 to +60 °C. Seal cable connections with the specified waterproof connector outdoors. The enclosure rating does not protect an exposed cable joint.
Add through the app
Power and connect the camera, scan its QR code in the Ajax app and assign it to a space and room. Add it as a standalone device or connect it to an NVR. A camera belongs to one space at a time.
Check the finished view
Set zoom and focus, recording, detection zones and notifications. Configure illumination and any wired inputs or outputs. Test live video, a recorded event and each connected response before finishing the installation.
Keep an eye on the whole system.
Your cameras, together
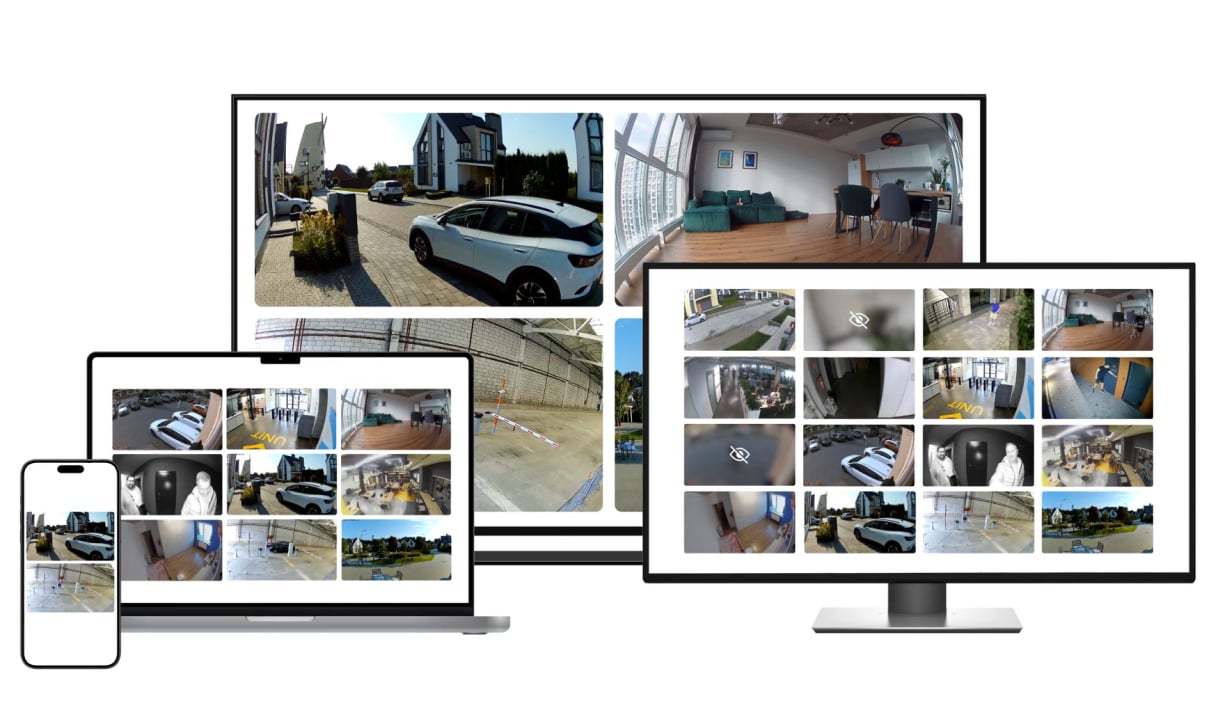
Use the customisable video wall in Ajax apps to monitor several camera views together. Open the camera you need, review its events and check its connection or recording-storage status.
JetSparrow
Ajax’s video technology supports responsive playback and navigation through recorded events. Filter the timeline, open a relevant moment and export a clip from the app. Network quality and the recording setup still affect the experience.
Keep the view clear
Inspect the camera and its image regularly. Remove dust before gently cleaning the optical surface with a soft, slightly damp, lint-free microfibre cloth. Apply liquid to the cloth, not directly to the camera, and avoid abrasive materials or active solvents.
Put the view in the right place.
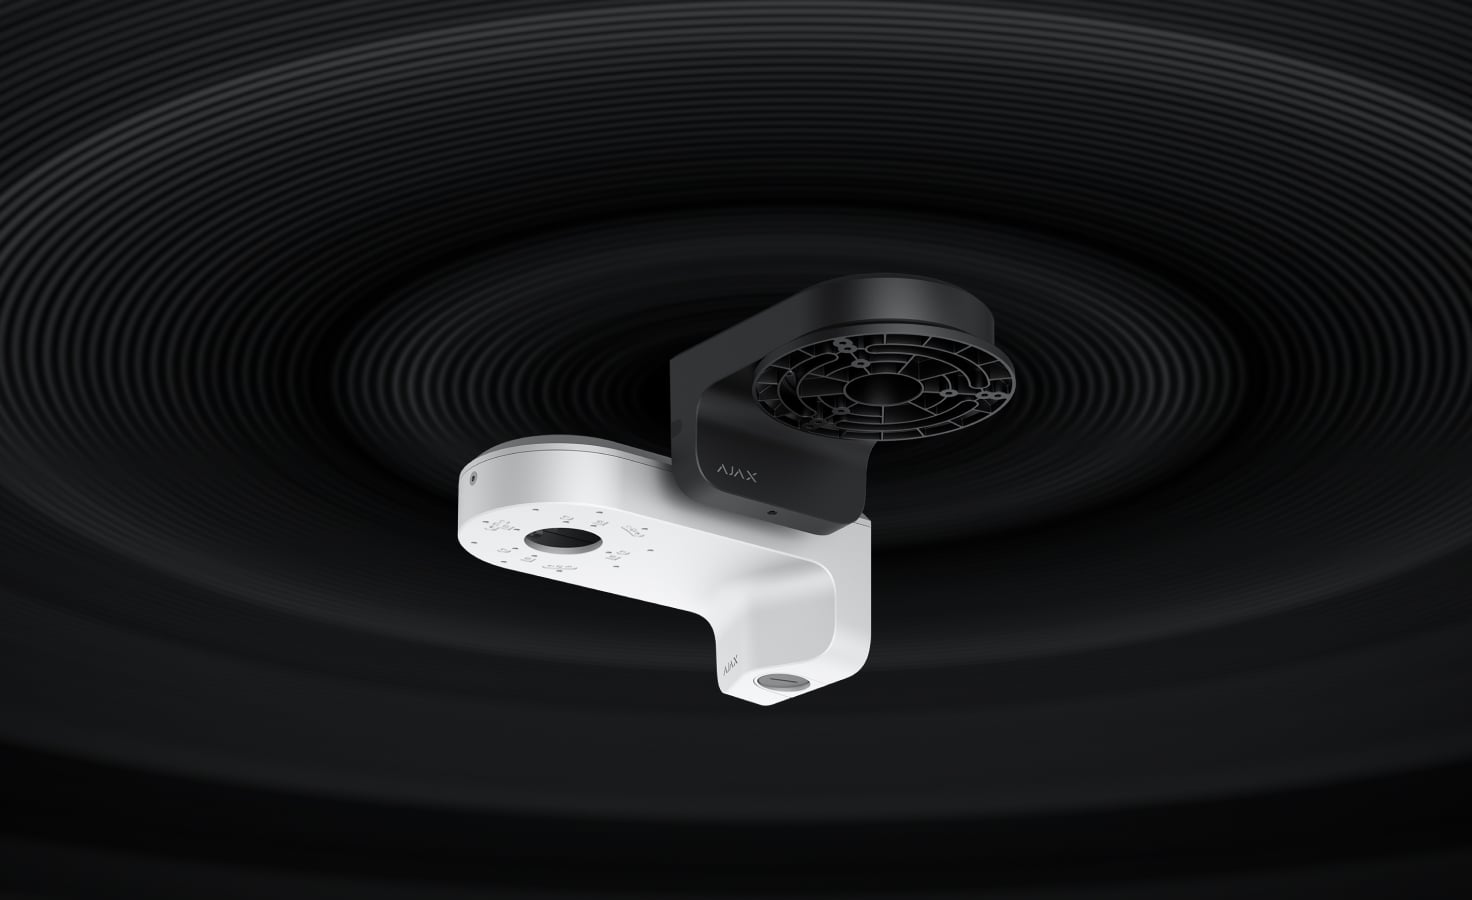
MountCam options
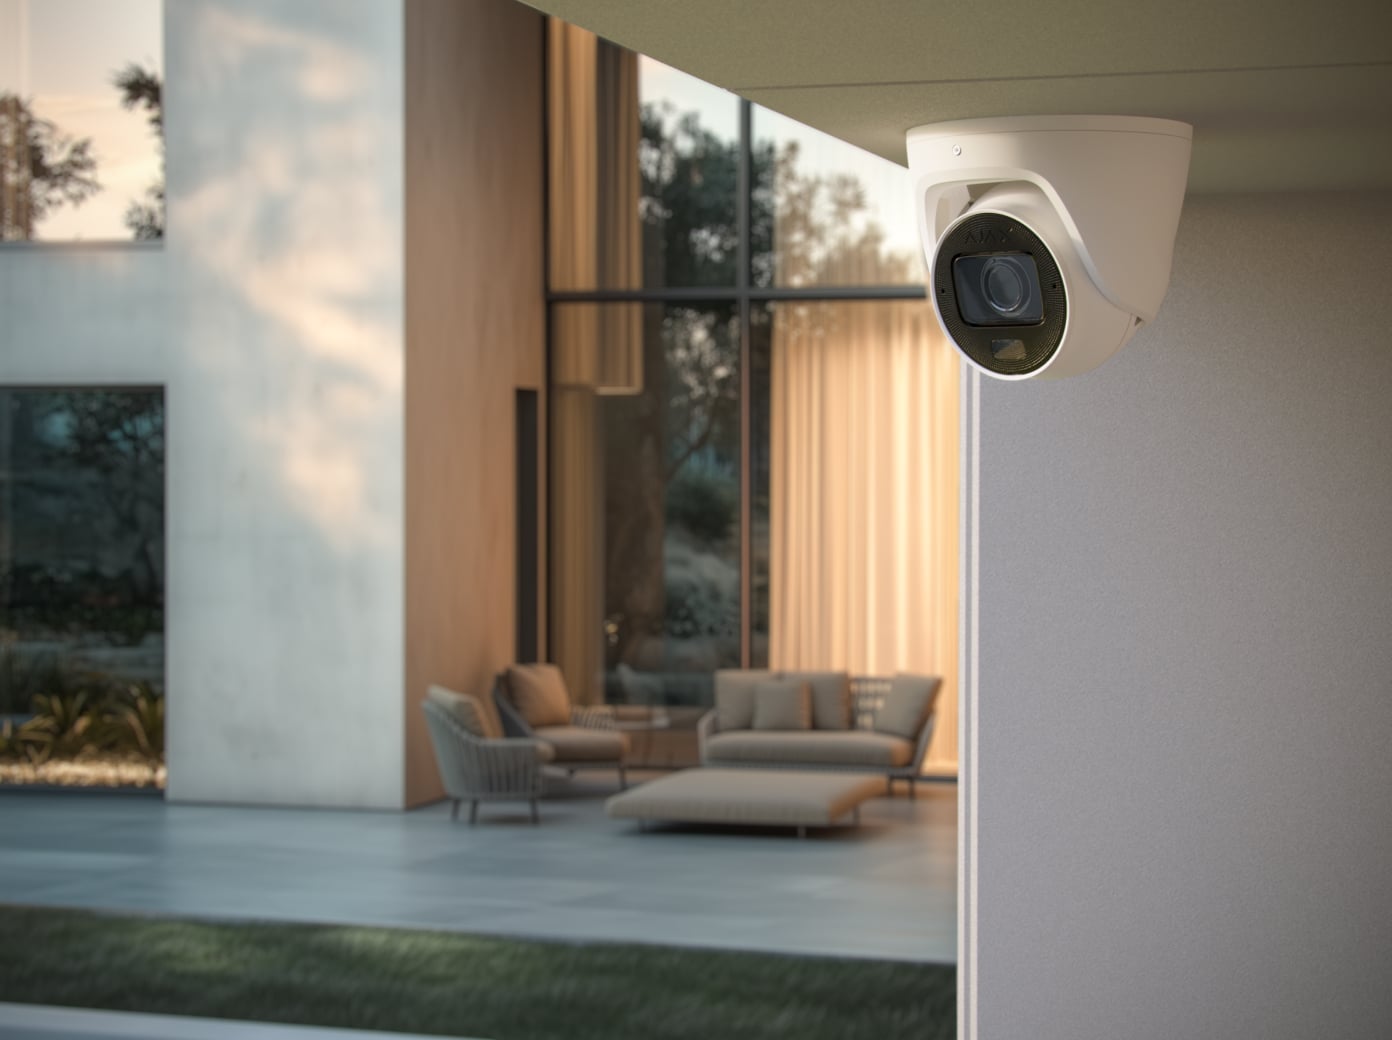
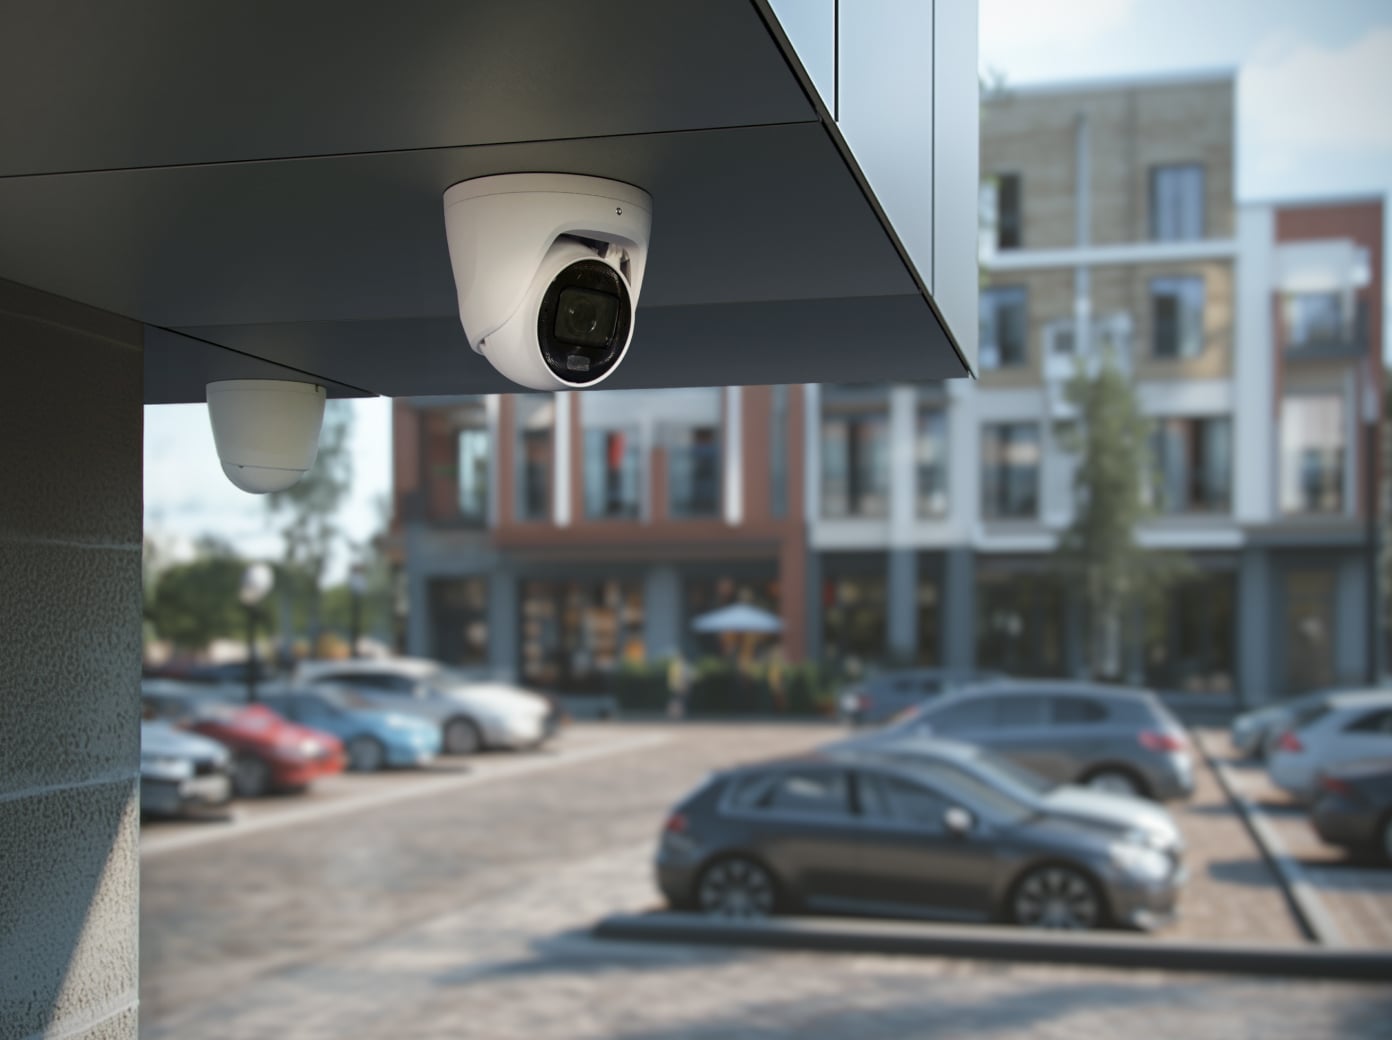
A compatible MountCam wall mount can help position the camera near a wall, under an eave or beside a pillar. Match the exact mount to the camera and installation surface; mounts are separate accessories.
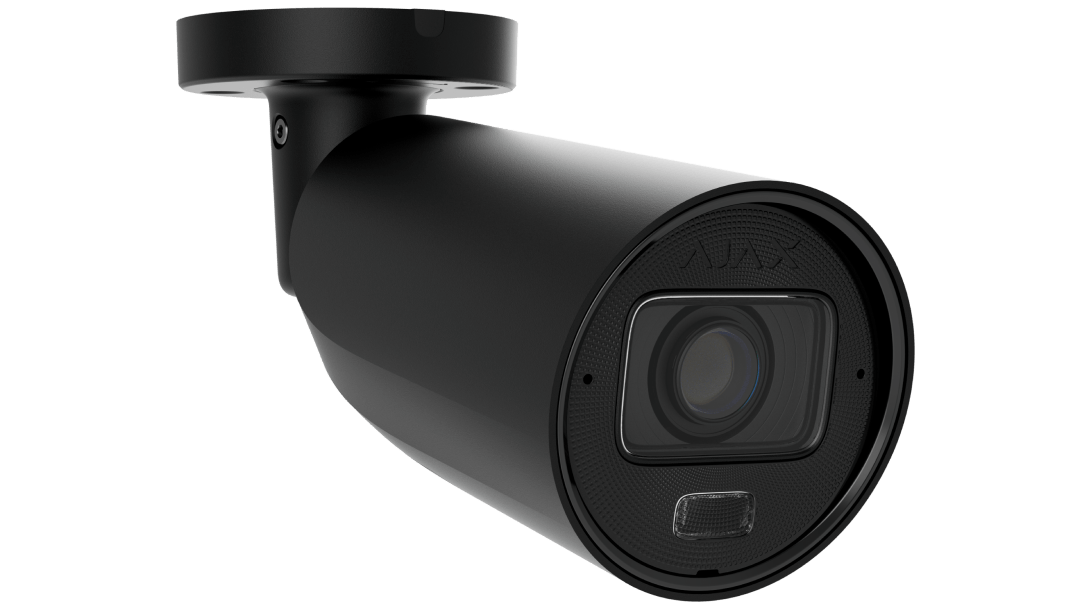
Use the manufacturer’s compatibility list when selecting the MountCam version. A similar-looking mounting base is not confirmation of compatibility.
white LED: up to 40m IR LED: up to 60 m Intelligent lighting control automatically adjusts the intensity of IR and white LEDs in real time to prevent overexposure. This ensures clear visibility of objects at varying distances, both near and far, in low-light conditions.
microSD Camera supports microSD cards up to 256 GB. The memory card must be Class V30 or faster. The card is not included in the complete set.
Audio
Built-in microphone
1 With the corresponding settings applied, the camera can record audio at the scene.
Audio codec
G.711 µ-law, G.711 A-law, G.726, G.722
Intelligent video analytics
Motion detection
The camera detects motion using software-based image frame analysis.
AI object detection
People Pets Vehicles Line-crossing
Network
Port
1 × RJ45 self-adaptive Ethernet (10/100 Mbps)
Protocol
HTTP, HTTPS, TCP/IP, IPv4, RTSP, UDP, DHCP, DNS
ONVIF
conformant with ONVIF Profile G and S The device implements ONVIF H.265 (HEVC) encoding, transmission of motion detection and AI recognition events, control over Wide Dynamic Range (WDR), and other image settings — not ONVIF profile or add-on conformant.
Alarm port
Lines for third-party devices
2
Alarm IN type
NO, NC Configured in Ajax apps.
Alarm OUT operating range
24 V⎓, 300 mA
Audio port
Lines for third-party devices
2
Audio IN type
external microphone input Supports active microphones with a built-in preamplifier.
Audio IN settings
gain enable/disable Configured in Ajax apps.
Audio OUT type
External speaker output. Connect suitable external audio equipment according to the exact user manual; speaker requirement: at least 3 W, impedance at least 4 Ω.
Key features
Video transmission
JetSparrow Fast and encrypted peer-to-peer technology developed by Ajax Systems.
Focal length change
autofocus manual focus control Configured in Ajax apps.
Visual verification of system alarms
Ajax systems allow users to configure a scenario in which Ajax detectors trigger selected cameras to start recording. The recorded event is immediately delivered to the mobile or desktop Ajax PRO app.
Privacy
Advanced privacy controls ensure a high level of personal data protection. All access rights — including those for mobile app users, installers, and monitoring company operators using Ajax PRO Desktop — are fully configurable by the device owner. This guarantees that only authorized parties can access video streams, event history, and device settings in accordance with the owner's preferences.
Sabotage protection
mTLS
Encrypted connection for data protection.
Authentication
via Ajax Cloud
Secure Boot
Protection against firmware spoofing.
OTA signature verification
Secure automatic firmware update.
Accelerometer
Alerts on attempts to move or dismount the camera.
Power supply
PoE standard
802.3at/af (Class 3)
External power connector type
screw terminal connector (2 pin)
Power consumption
maximum: up to 12 W average: up to 6 W
Power supply unit
12 V⎓, 1 А
Enclosure
Dimensions
136 × 113 × 136 mm
Weight
850 g
Operating temperature range
from −40 °C to +60 °C
Operating humidity
up to 90%
Protection class
IP67, IK10
What’s in the box
TurretCam HLVF (5 Mp)
Installation template
Installation kit
3 screw terminal connectors
Quick start guide
For your installation
Use an Ethernet network and suitable PoE or 12 V DC power.
Recording needs a suitable microSD card, NVR storage or a supported service; storage is separate.
The microphone, audio connections and any external alarm connections must be configured for the installation.
Confirm the regional model and supply with your enquiry.